How to prepare for a real estate photo shoot: checklist
Preparation determines 80% of the final photo quality. A professional real estate shoot without proper preparation produces mediocre results regardless of the camera or lens. Room-by-room checklist, J-7 to J-0 planning, and common mistakes to avoid — for agents and homeowners in Belgium and the Costa Daurada.
Why preparation determines 80% of the result
Professional real estate photography is not just about pressing a shutter button. It requires a clean, tidy, depersonalised, staged subject. A poorly prepared property multiplies post-production work, extends the on-site shoot duration, and still betrays fixable flaws that 10 minutes of tidying would have resolved.
A buyer does not buy a house — they buy a projection. If the photo shows a sponge on the sink or shoes in the hallway, that projection shatters. Preparing your property means giving the buyer a clear mental canvas.
The ideal timeline: D-7 to D-Day
Preparation should be spread over a week. Doing everything the night before leads to exhaustion and oversights.
D-7: Audit and major declutter
Walk through the property with a critical eye. List everything that needs cleaning, repairing, moving or discarding. Take reference photos from your phone at the planned shooting angles — anything protruding, reflecting or clashing will jump out immediately.
D-5: Small repairs
Fill wall holes, touch up chipped paint, replace burnt-out bulbs, fix anything loose. A peeling skirting board or yellowed socket becomes immediately visible in HDR photography.
D-3: Declutter
Boxes stored in the garage or basement. Personal items put away. Magnets removed from the fridge. The rule: anything not decorative or functional must leave the visual field.
D-2: Complete cleaning
Floors, interior and exterior windows, mirrors, bathrooms, worktops. Clean windows are essential: a fingerprint on a backlit window becomes the photo's focal point.
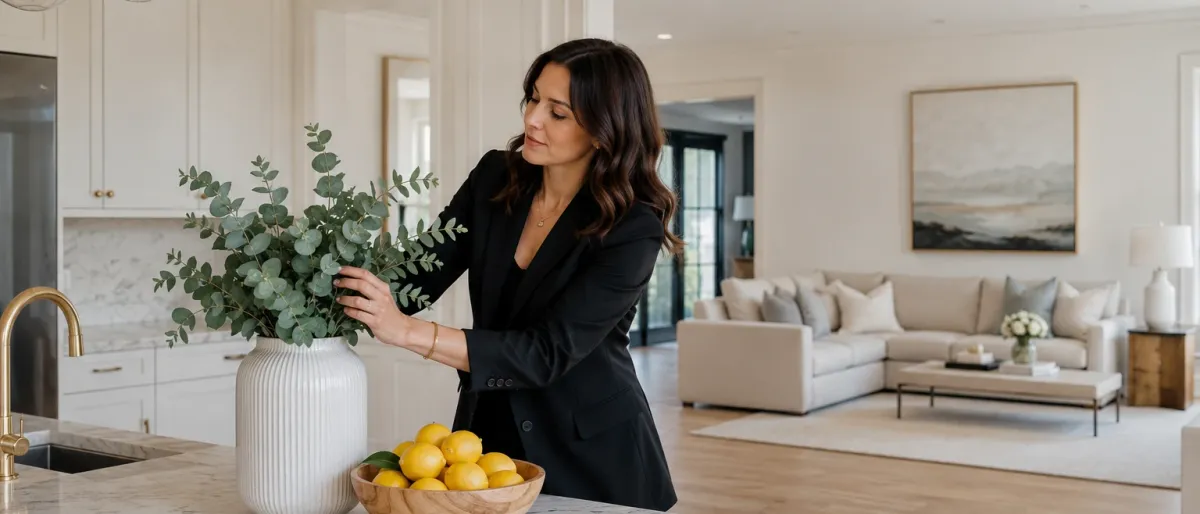
D-1: Staging
Cushions repositioned, bed made with precision, clean towels folded, fresh flowers. Restraint wins: too many decorations kill the sense of space.
D-Day: Final touches
Turn on all lights, open all curtains, move cars away from the property.
Preparing the exteriors
On portals like Immoweb, Idealista and Fotocasa, the first photo is almost always an exterior view. It decides the click.
Facade and surroundings
- Mow the lawn 2 to 3 days before (not the morning of)
- Trim hedges, bushes, overhanging plants
- Remove fallen leaves, branches, forgotten objects
- Pressure-wash terrace, driveway, entrance steps
- Hide bins, composters, garden hoses
- Move cars (yours and the neighbour's if possible)
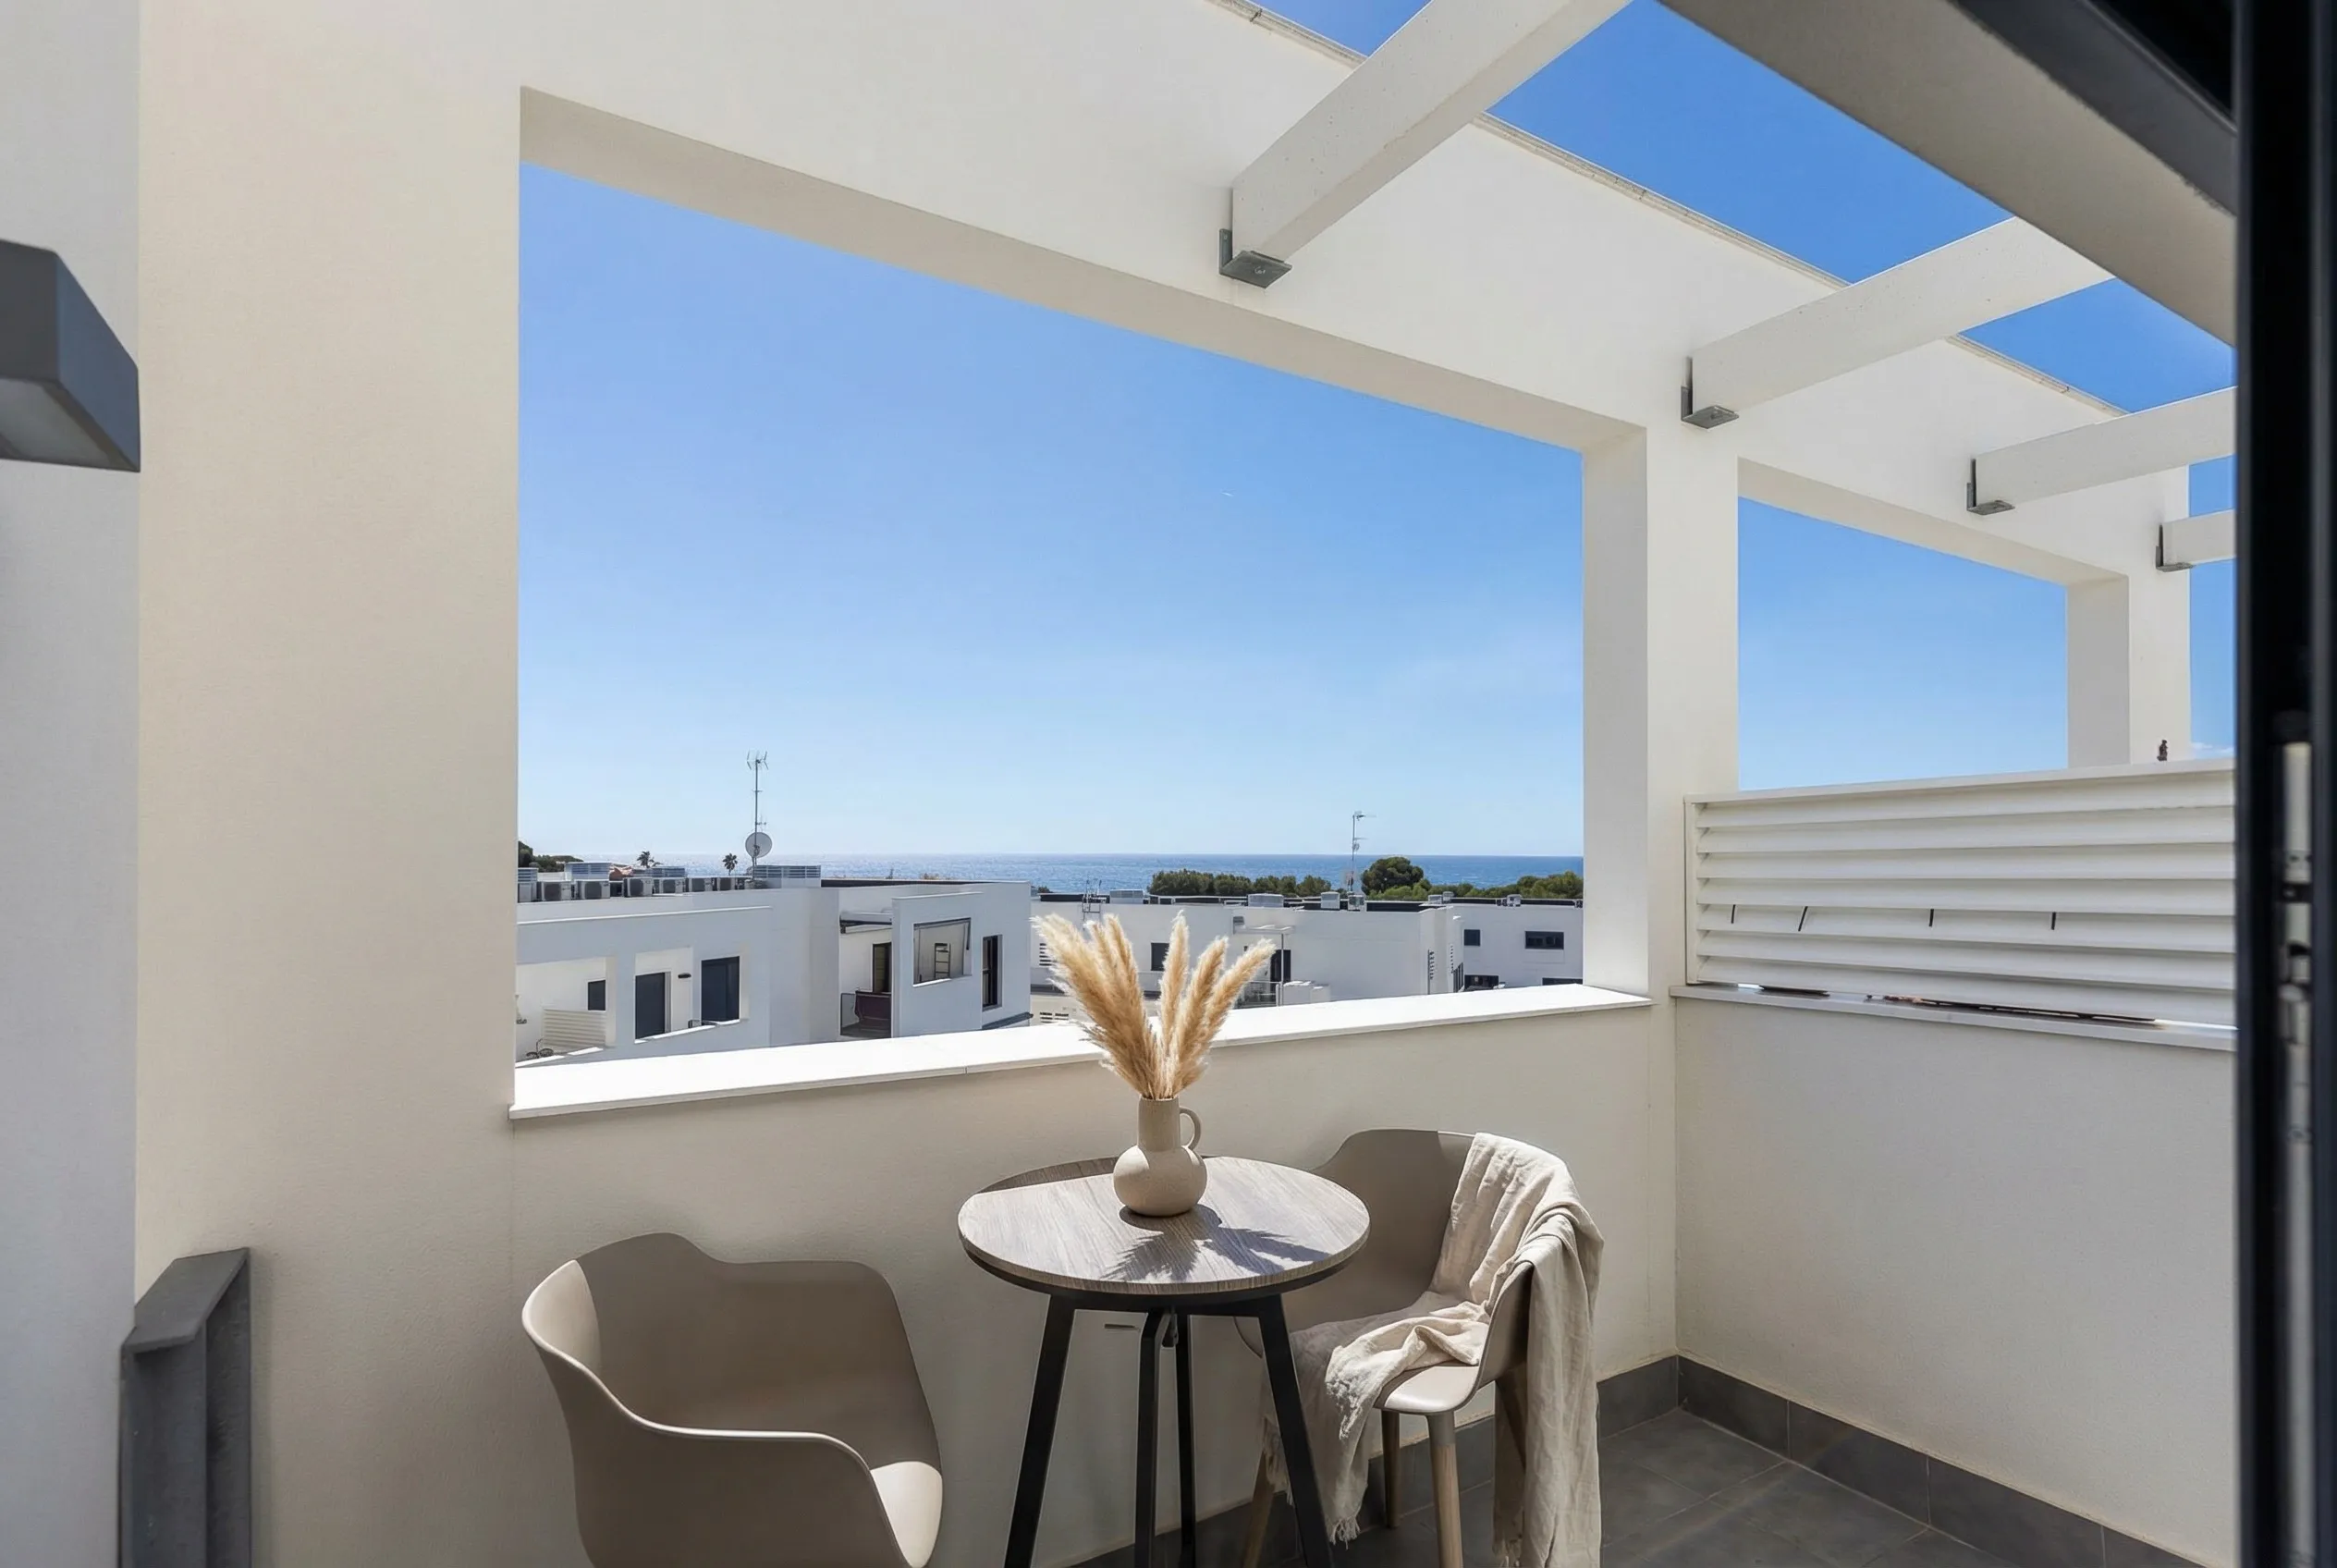
Terrace, pool, garden
- Arrange garden furniture neatly, cushions in place
- Turn on outdoor lighting for twilight shots
- Clean the pool surface, remove robot cleaner and floats
- Turn off automatic irrigation during the shoot
Preparing the entrance
The entrance sets the tone. A cluttered area suggests the whole property lacks storage.
- No visible shoes
- Coats removed from hooks or reduced to a single decorative piece
- Mail, keys, bags stored out of frame
- Mirror clean and streak-free
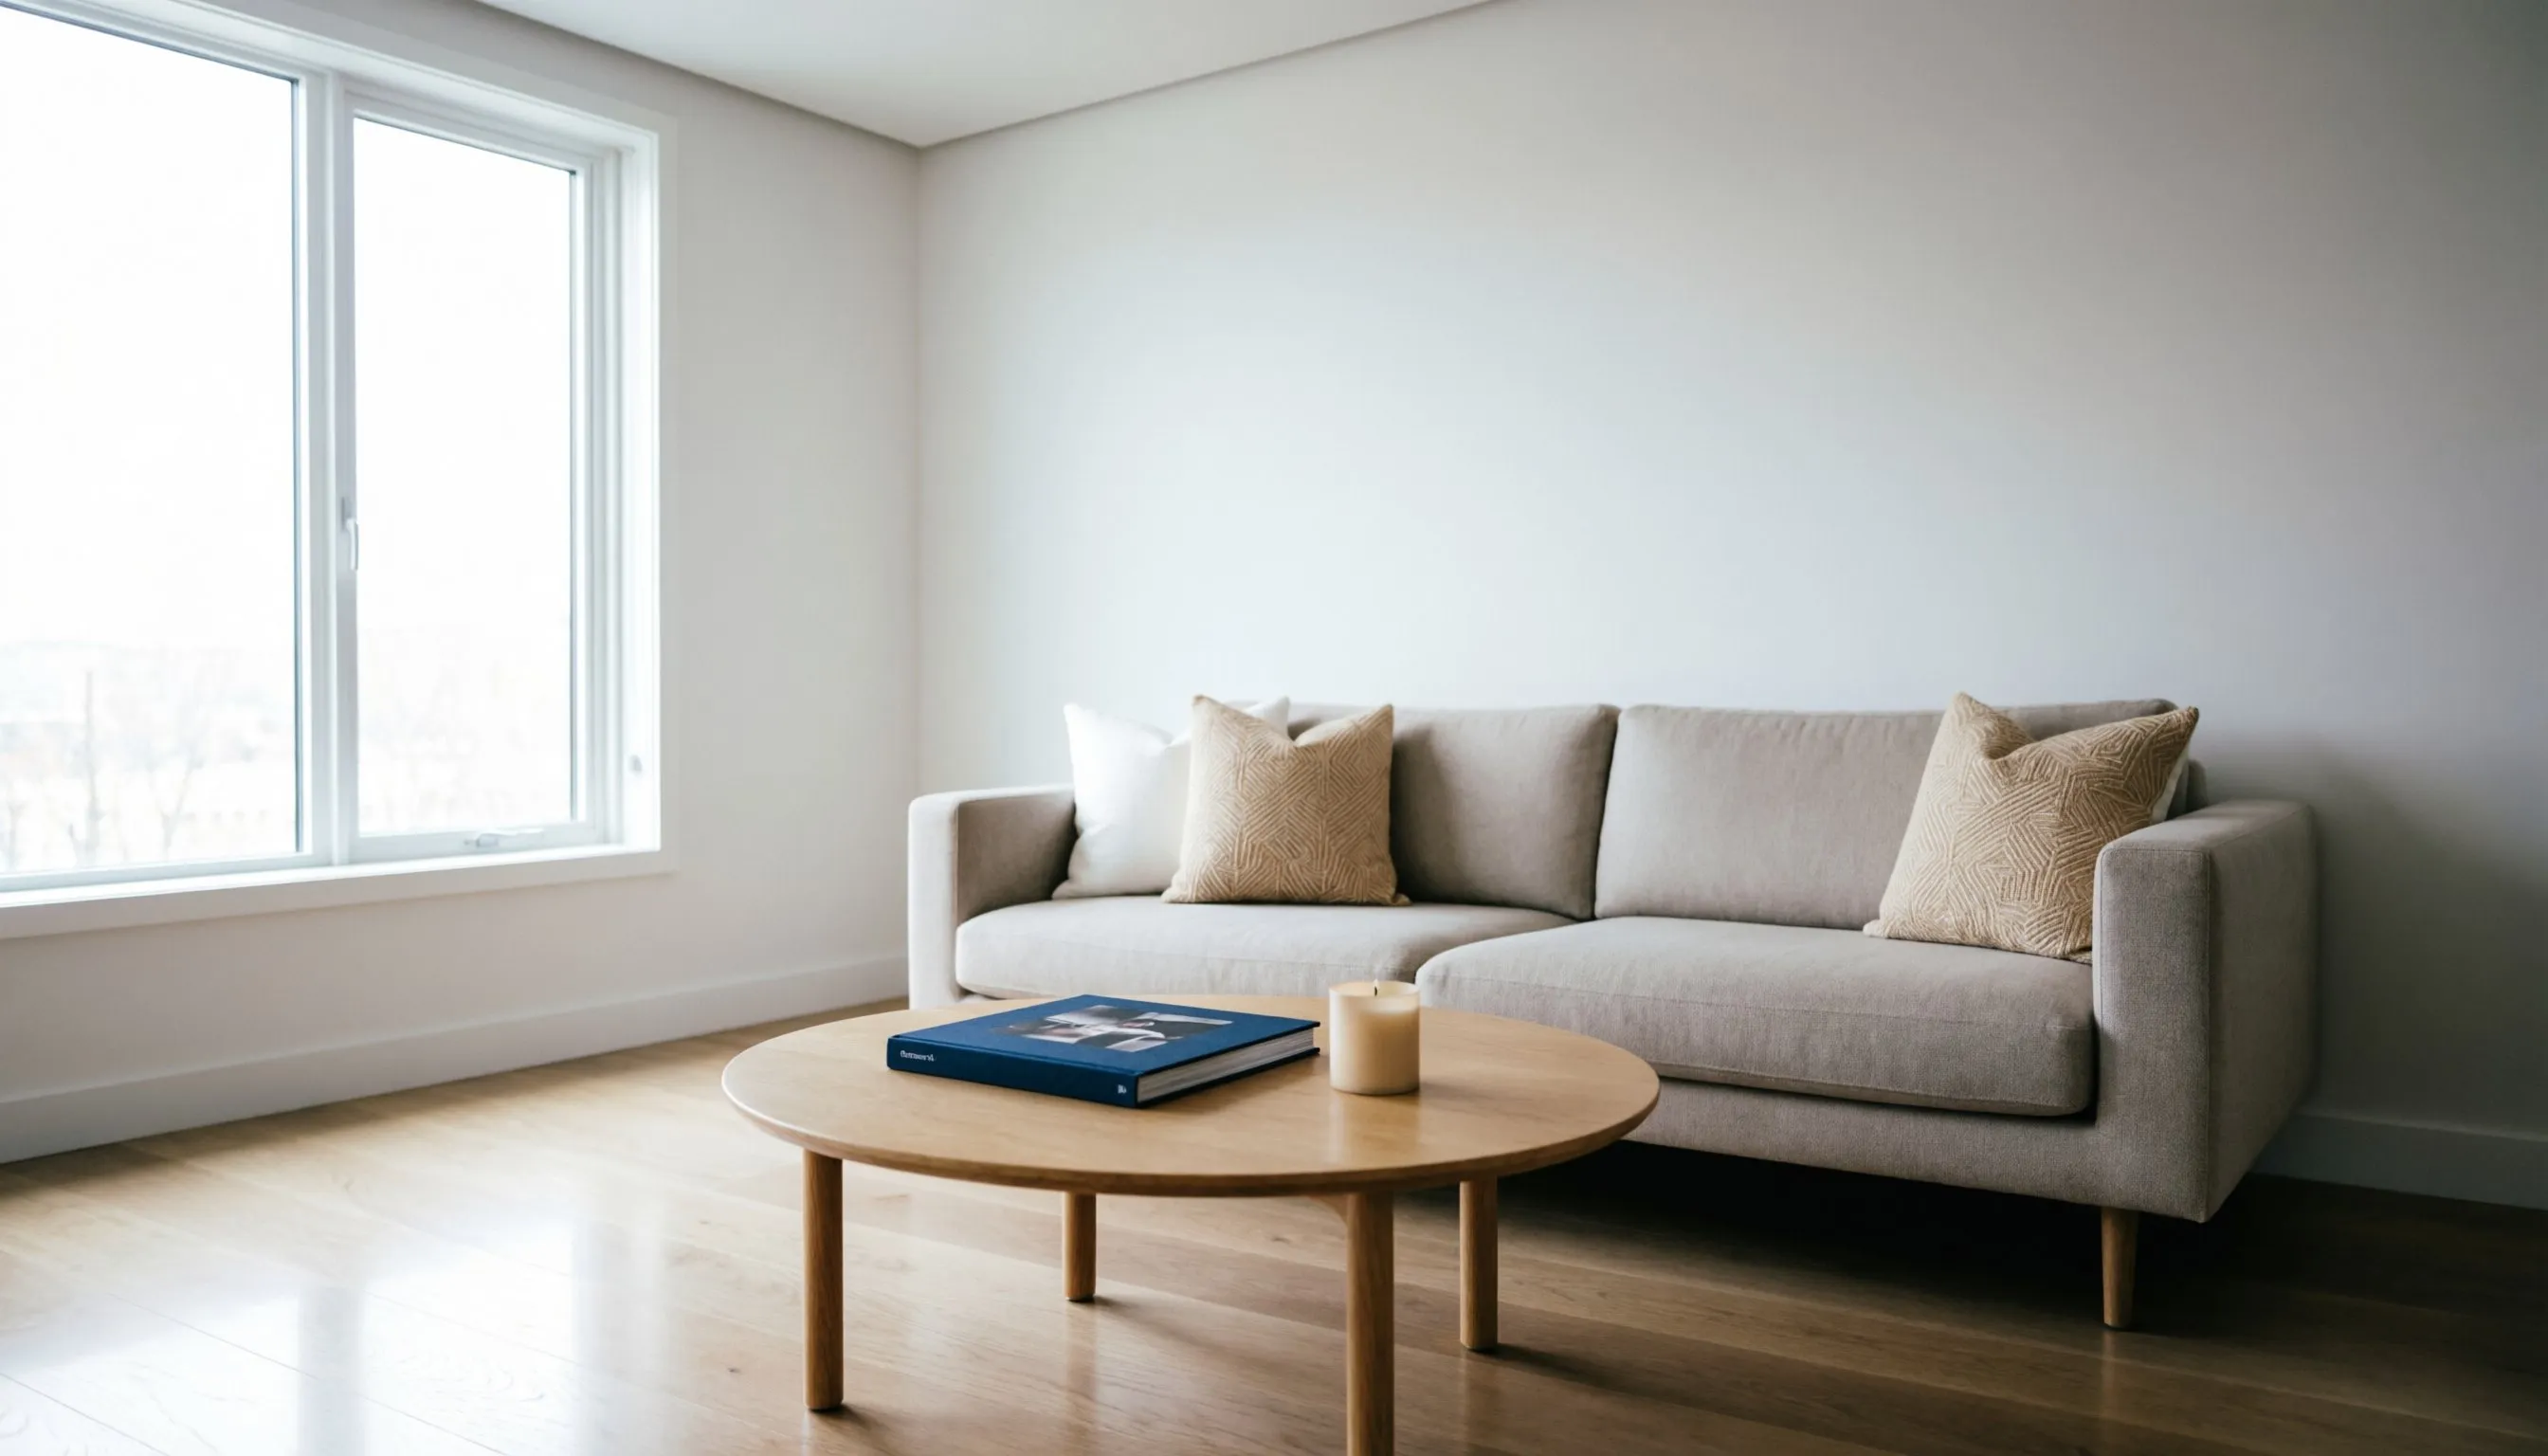
Preparing the living room and dining area
This is the centrepiece: 4 to 6 photos out of the 25 to 35 delivered.
- Remote controls put away in a drawer, cables bundled
- Coffee tables cleared (1 or 2 decorative items maximum)
- Bookshelf organised by height, books aligned
- Personal photos and diplomas removed from walls
- Healthy plants, clean pots, dusted leaves
- Curtains fully open, blinds pulled straight
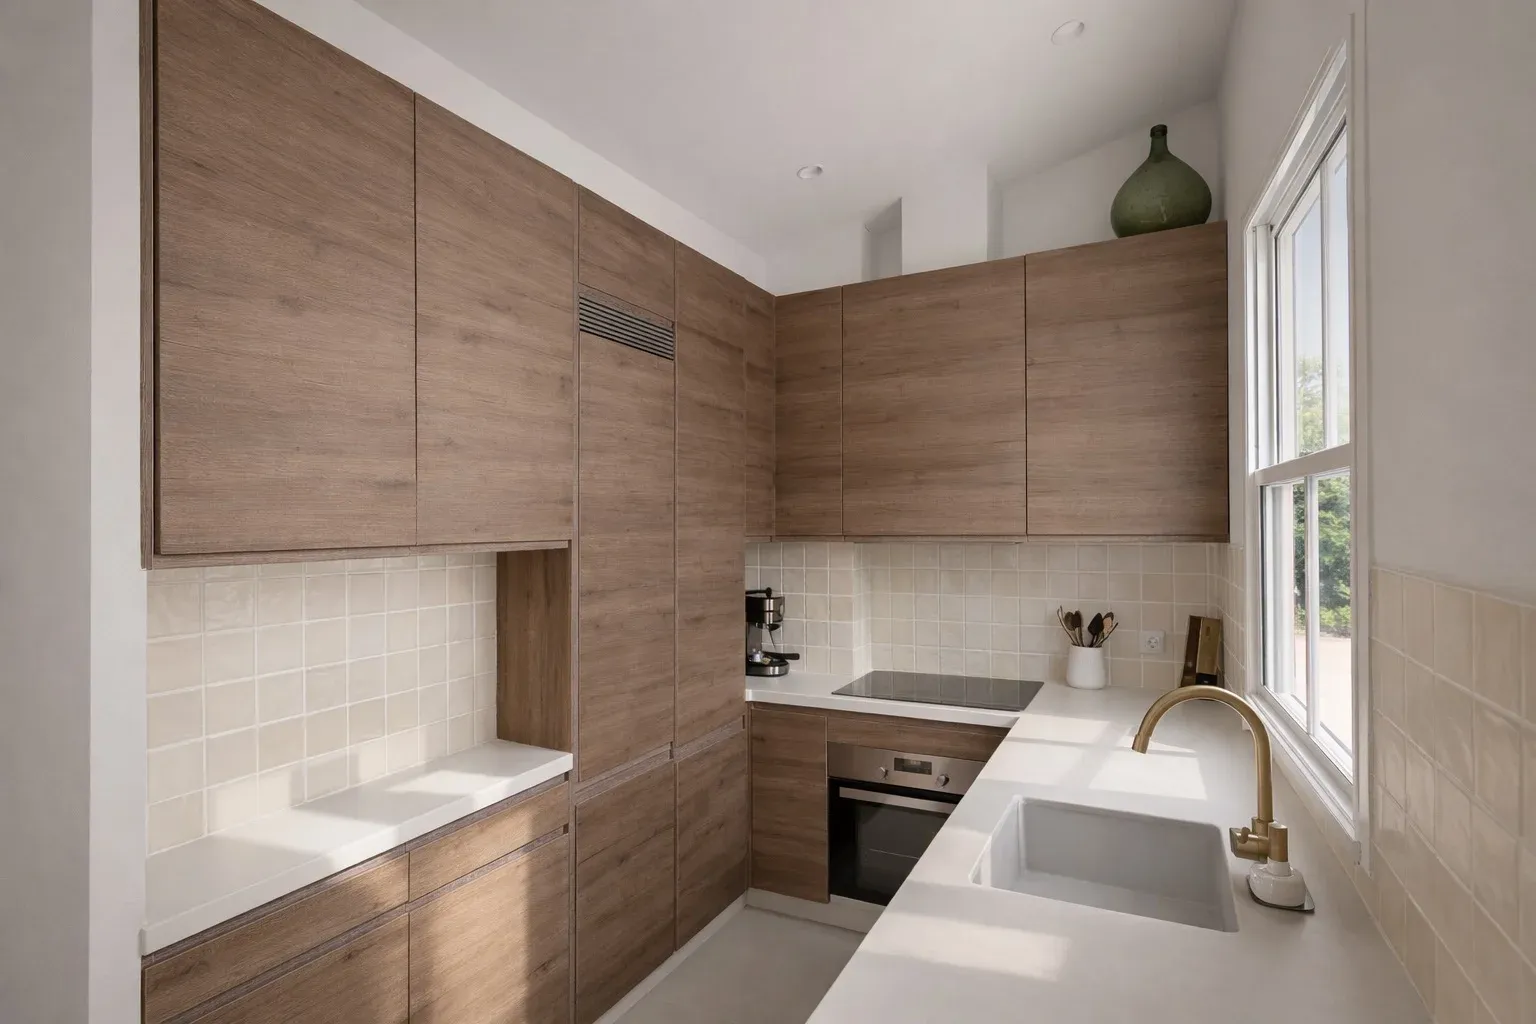
Preparing the kitchen
The kitchen suffers most from daily life. It is also where buyers project the most fantasies.
- Worktops completely clear (except 2-3 carefully chosen items)
- Fridge clear: no magnets, no shopping lists
- Sink empty and dry, faucet polished
- Stainless steel wiped, no fingerprints
- Tea towels removed or perfectly folded
Preparing the bedrooms
The goal: show a hotel room, not a lived-in bedroom.
- Bed made with precision, pillows plumped and aligned
- Neutral bed linen, white or tone-on-tone
- Bedside tables pared down (lamp, book — that is it)
- No visible clothing
- Charger cables hidden behind furniture
Preparing the bathrooms
The room that most quickly reveals a property's maintenance quality.
- Surfaces completely cleared: toothbrushes, toothpaste, razors removed
- Clean towels folded in thirds
- Full descaling: faucets, mirrors, shower screens
- Toilet lid down, cover closed
- Bin, toilet brush, laundry basket hidden
D-Day: final checklist
The photographer usually arrives 30 to 45 minutes before the shoot. Everything must be ready.
- All lights on in every room, even those not being shot (light spills into corridors)
- All curtains open, all blinds pulled straight
- Air conditioning or heating at moderate level to avoid mist and reflections
- Ceiling fans turned off
- Pets outside or in a room not being shot
- No loud music — agent and photographer need to coordinate
Common mistakes to avoid
- Cleaning on the morning of the shoot: wet floors, fresh smears, visible stress
- Over-staging: too many candles, too many flowers, too many cushions
- Letting seasons betray the listing: Christmas tree photos published in March
- Scheduling a shoot on the wrong day: grey weather for a property whose view is the main selling point
- Mixing multiple sessions: kitchen shot in March, living room in June creates an incoherent listing
Frequently asked questions
How long before the shoot should I start preparing?
Do I need to empty rooms completely?
Should windows be cleaned on both sides?
Can I clean on the morning of the shoot?
Can digital home staging replace physical preparation?
What if the weather is bad on shoot day?
Further reading
Preparation checklist included with every quote · Reply within 24h
Ready to prepare your property with a pro?
Preparation checklist included with every quote. Book your real estate shoot with no obligation.
View services