5 real estate photography mistakes that drive buyers away
90% of property searches start with photos. Three seconds is all a buyer needs to click or scroll past. Dark rooms, distorting wide-angle, clutter, too few photos, neglected exteriors — the 5 mistakes that kill listings on Immoweb, Idealista and Fotocasa, and how to fix them.
Why photos decide whether a listing succeeds or fails
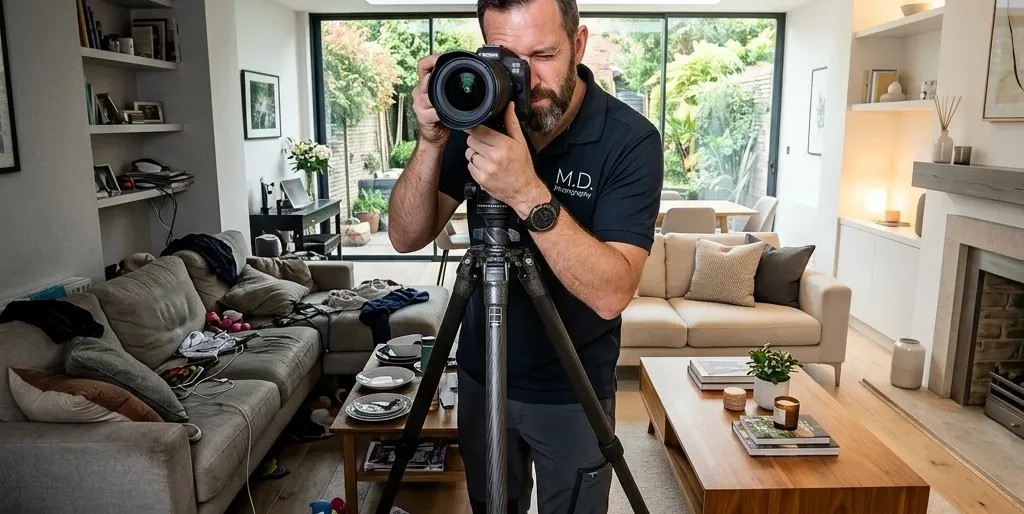
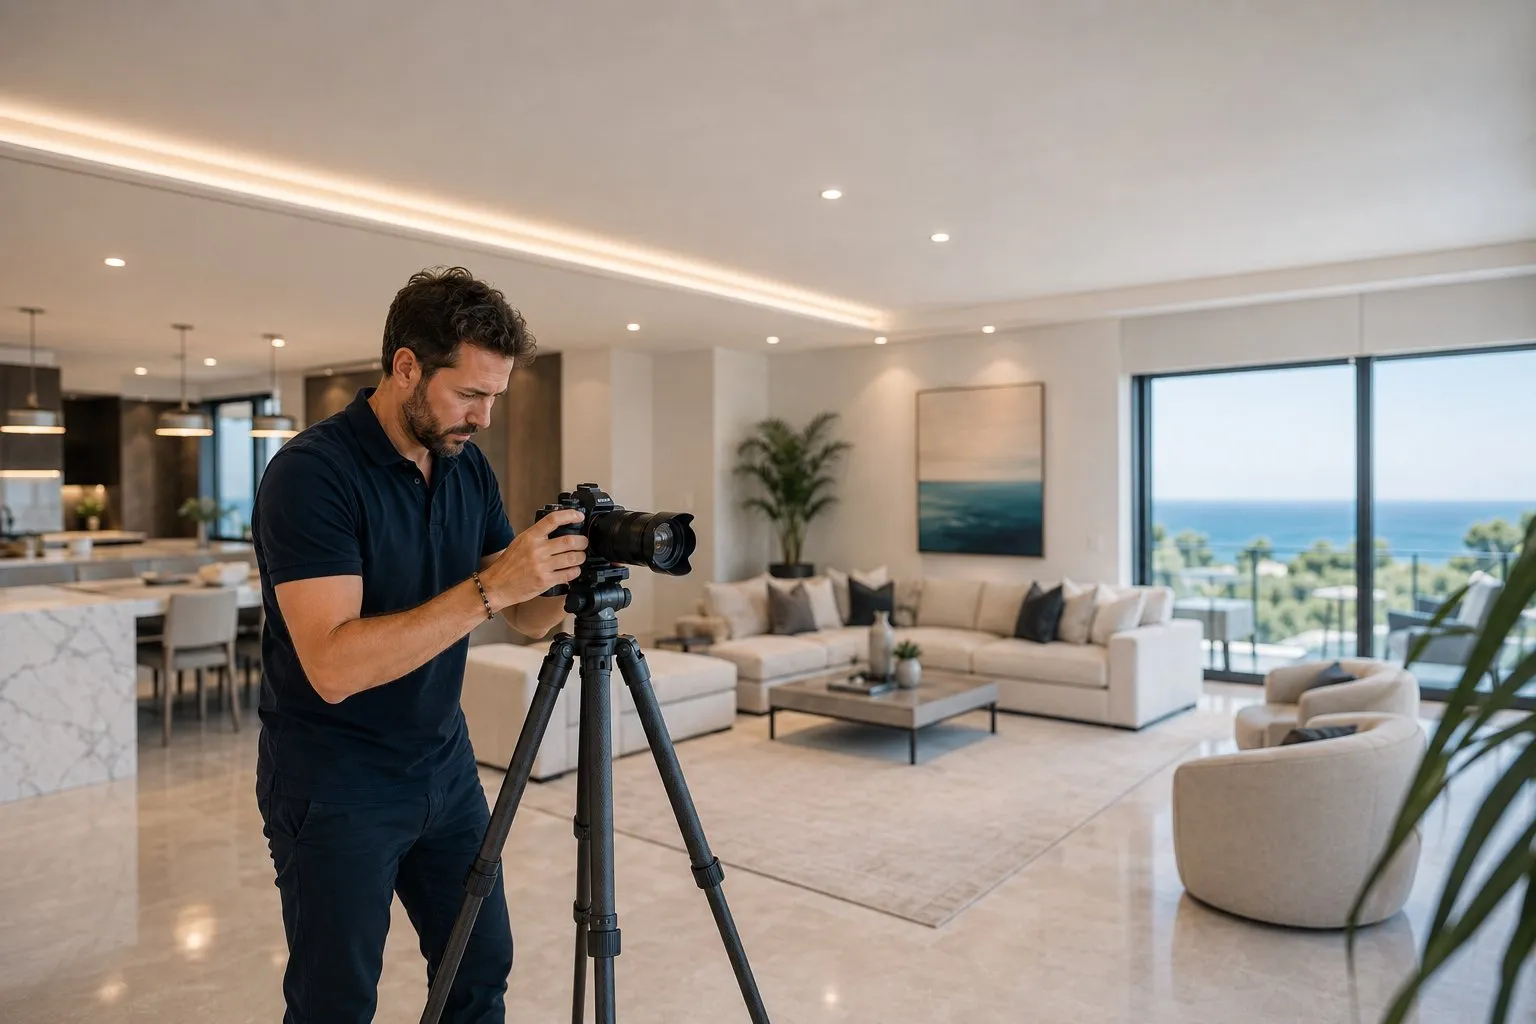
Before reading the description, before checking the price or size, buyers look at the photos. If they do not pass the three-second test, the listing is dead. On major portals, listings with professional photography generate roughly 3 times more clicks than amateur-shot ones. The cost of a professional real estate shoot is recovered from the very first avoided wasted visit.
Mistake #1: Rooms that are too dark or poorly lit
The most common mistake: a living room in semi-darkness, dull colours, a floor that looks grey when it is actually honey-coloured. A dark room appears smaller, sadder, and suggests a poorly maintained property.
The human brain associates brightness with volume. A correctly exposed photo with open shadows and controlled highlights literally adds perceived square metres. That is exactly what HDR technique achieves.
The fix: Open all curtains, turn on all lights, and hire a photographer who masters multiple exposure blending. No room should ever be shot against the light without HDR technique.
Mistake #2: Wide-angle distortion used carelessly
The wide-angle lens is the main tool in real estate photography. But used badly, it distorts walls, stretches rooms unrealistically and betrays the property. The buyer arrives on site, spots the trick in 10 seconds and leaves. Trust is broken for the rest of the visit.
A frame that is too wide turns a 12 m² bedroom into a master suite. The agency burns serious prospects and collects unqualified visits.
The fix: Controlled framing, corrected verticals in post-production, and the golden rule: the photo should entice without betraying reality. A professional photo seduces — it does not lie.
Mistake #3: Clutter, personal items and distracting details
A hair dryer on the sink, a towel hanging loose, magnets on the fridge, a dog basket in the middle of the living room. Every personal item stops the buyer from projecting themselves. They no longer see their future home — they see someone else's life.
Worse: the photographer's reflection in a mirror, an open toilet lid, a remote control on the sofa. These details appear in over 60% of amateur listings and immediately undermine perceived quality.
The fix: A preparation checklist sent to the homeowner 48 hours before the shoot. Clear everything, tidy everything, depersonalise everything. For empty properties, digital home staging can virtually furnish rooms.
Mistake #4: Too few photos, or repetitive ones
A listing with 4 photos signals to the buyer's brain that something is being hidden. Conversely, 40 near-identical photos drown the information. The sweet spot is between 20 and 35 visuals with a narrative flow: exterior, entrance, living spaces, bedrooms, bathrooms, exteriors and views.
Another trap: three photos of the same living room angle with slightly different framing. The buyer loses patience and moves on. Each photo must bring new information.
The fix: A precise brief before the shoot. Systematically include exteriors, a drone shot if the property justifies it, and a signature photo (twilight, strong perspective, open view).
| Criterion | Amateur listing | Professional listing |
|---|---|---|
| Number of photos | 4 to 8 | 25 to 35 |
| Lighting | Underexposed, backlit | HDR, open shadows |
| Framing | Distorted, wrong verticals | Corrected, true proportions |
| Preparation | Visible clutter | Depersonalised, staged |
| Exteriors | Missing or 1 photo | 4 to 6 + context |
| Click-through | Low | 3x higher |
Mistake #5: Neglecting exteriors, context and the view
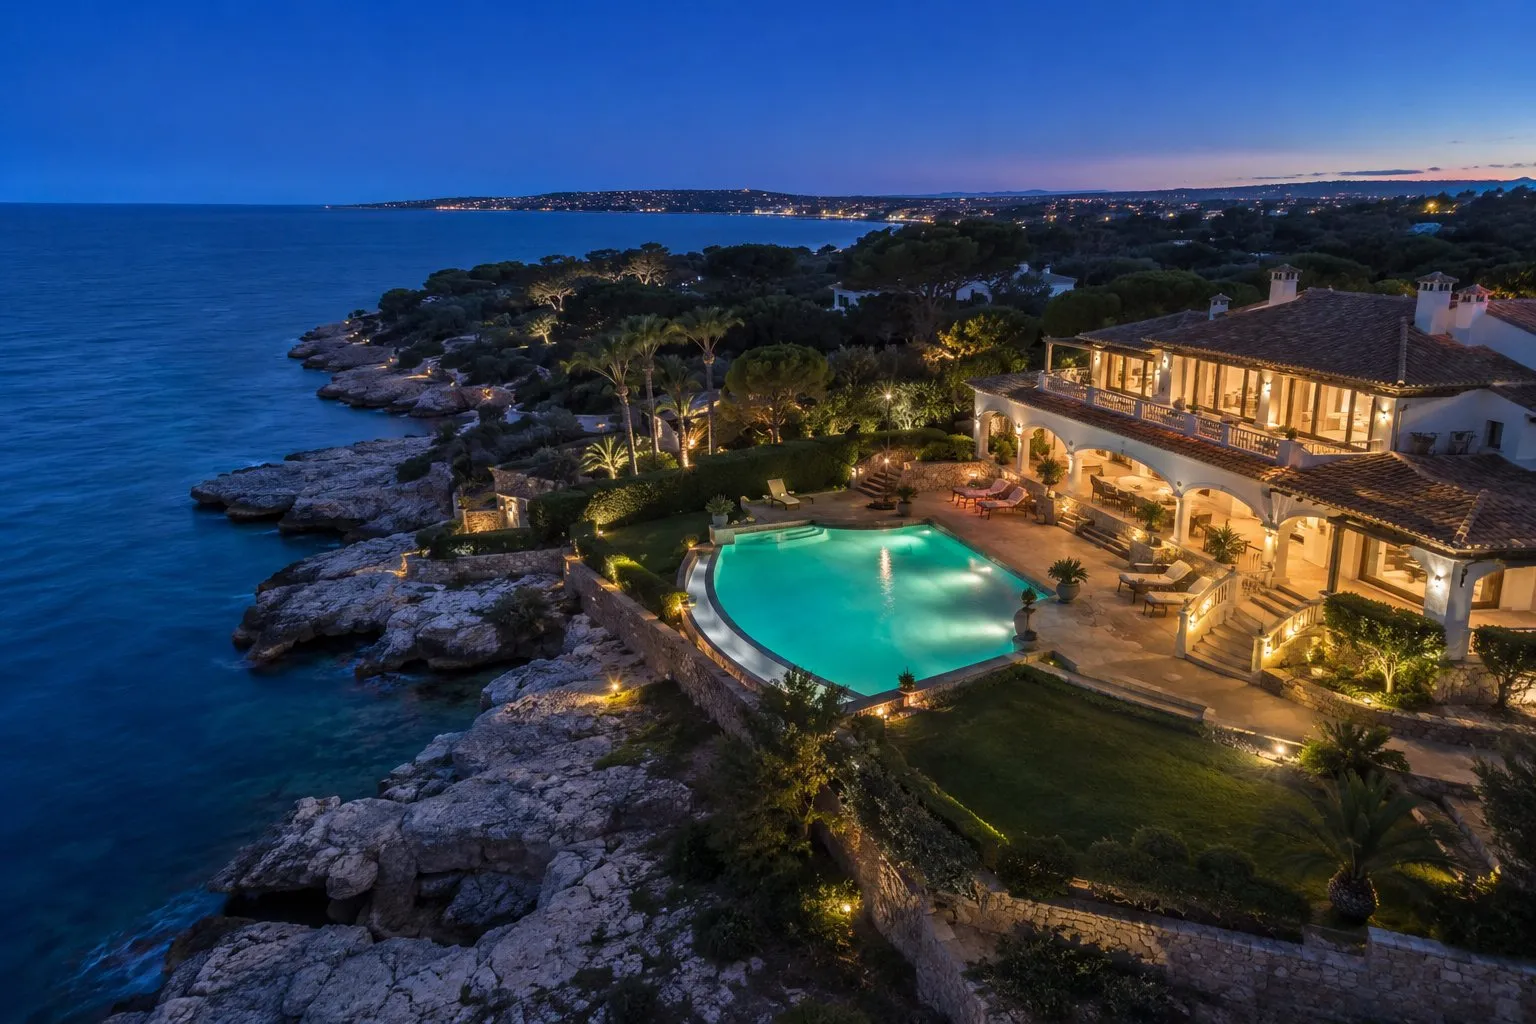
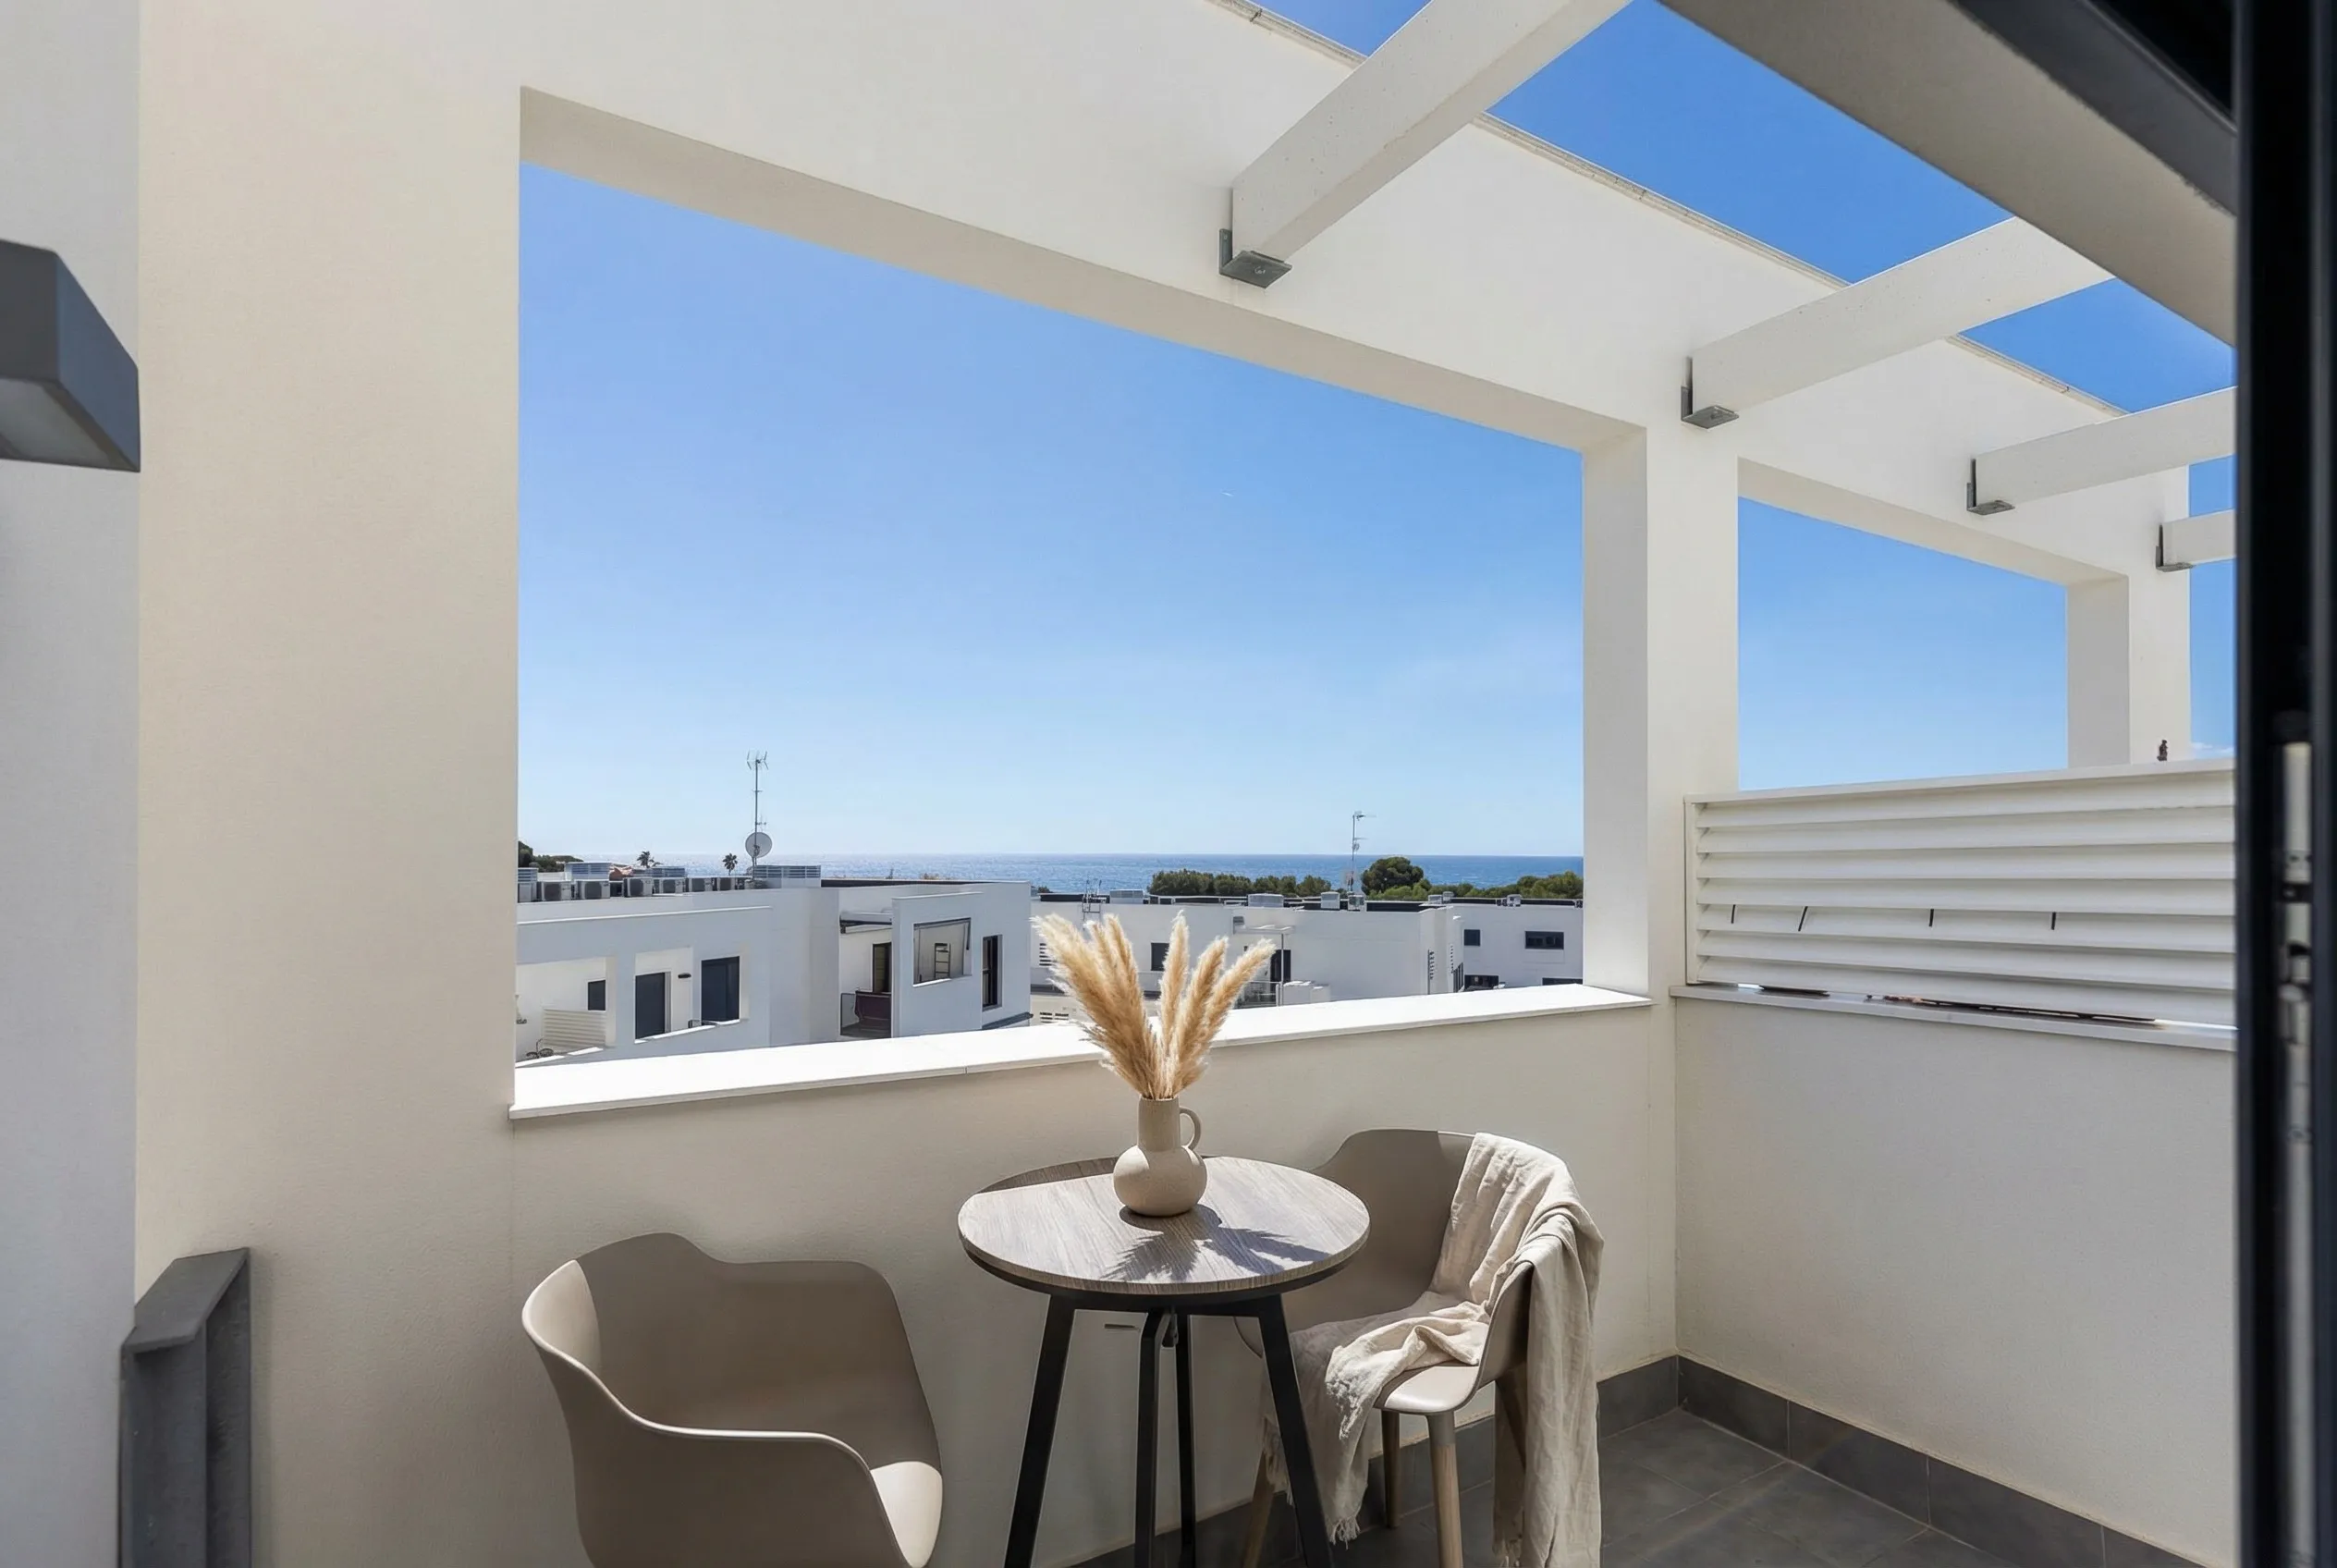
An unshot terrace, a garden photographed at midday with harsh shadows, a sea view missing from the portfolio. On the Costa Daurada and in Belgium alike, the environment is often worth as much as the property itself. Omitting it means losing the primary emotional lever.
An open view, a quiet street, a park 200 metres away, a well-maintained rear facade. A photographer with a drone can place the property in its context and show what interior photos alone cannot.
The fix: Systematically include 4 to 6 environment visuals in every shoot. For premium properties, schedule a twilight session that turns a simple terrace into a lifestyle scene.
How to audit your own listings
Take your last 5 listings on Immoweb, Idealista or Fotocasa. Ask yourself:
- Does the first photo make you want to click?
- Are there at least 20 photos?
- Are the rooms bright without being blown out?
- Are verticals straight?
- Are there visible personal items?
- Are exteriors and context represented?
If you answer "no" to at least two questions, your listings are losing visitors every day.
Frequently asked questions
How many photos does a real estate listing need?
What is the difference between amateur and professional real estate photos?
Can digital home staging fix a poorly prepared property?
Does every listing need drone photography?
What impact do photos have on the sale price?
Further reading
Free audit of your last 5 listings · Reply within 24h
Avoid the mistakes that ruin your listings
Discover our professional real estate photography services and make the difference on Immoweb. Custom quote within 48h.
View services